You share the URL (web link) with your clients so they can view the roster on a web page in a browser on any device. The roster shows the scheduled classes with a big *Book* button.

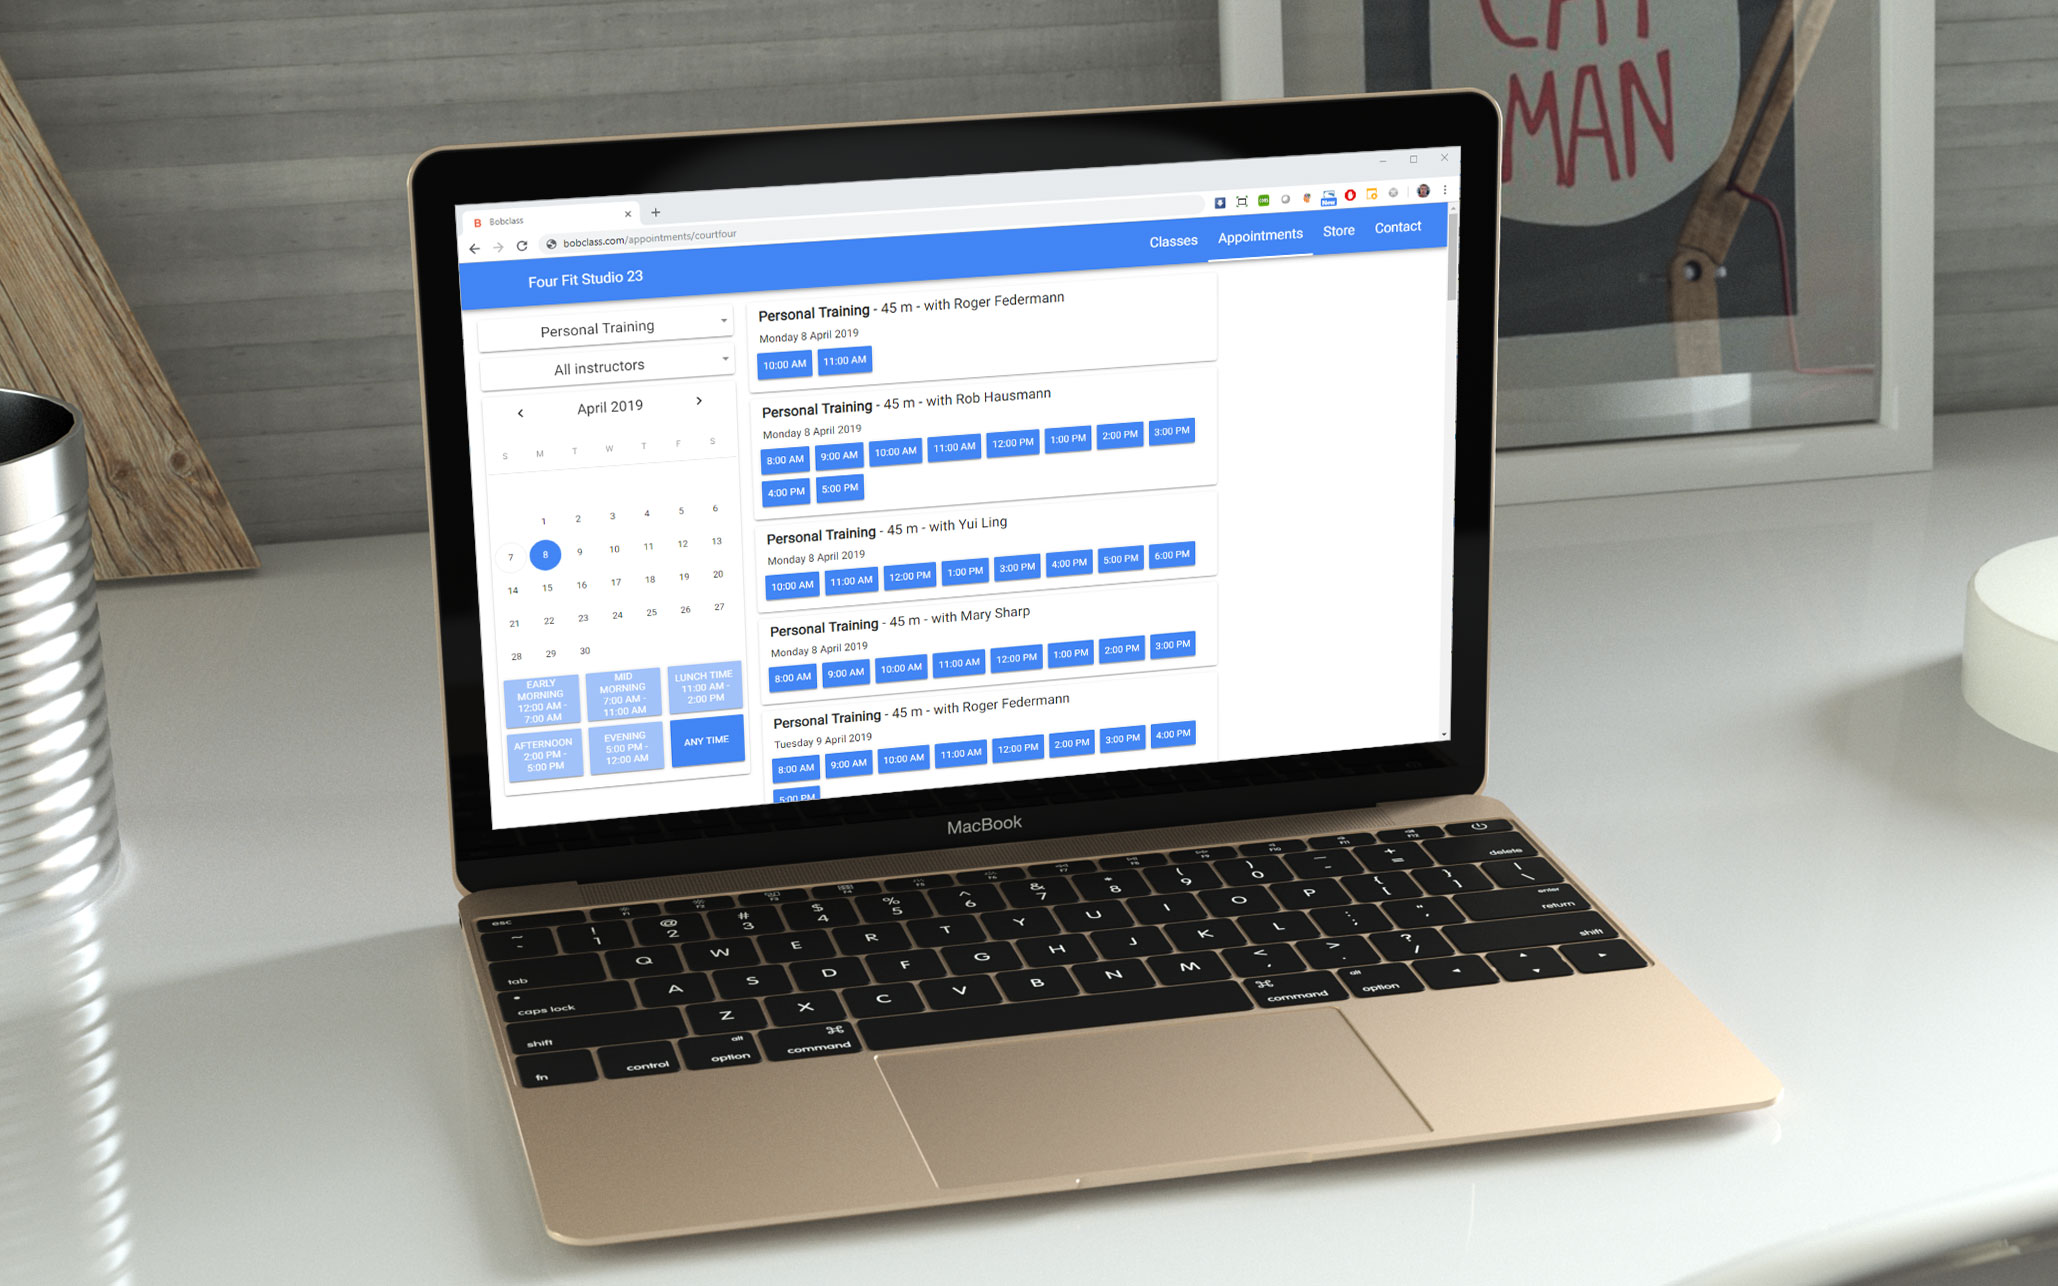
For appointment-based business, you want to share your availability with your clients. They can do this with a web link that can be viewed in any browser on any device. It does not show your current bookings, just the empty spots they can pick.
Questions? Make sure to explore the features section which contains instructions and videos, and the FAQs. Or talk to us through the chat widget in the bottom-right corner, 09:00 - midnight CET. We speak English, Español, Nederlands and Deutsch. Note that we're a small team so be patient if we're not online 24/7. We'll get back to you if you leave your name and question.
You can also send an email using the button below.