Features > Group classes > Video

step 1

1 - Define activities

Customize the activity: Choose if the activity needs payment, drop-in or pre-book. To prevent over-booking you can set the maximum number of clients. Also specify a default duration to save clicks and pick a display color for in the calendar.

step 2

2 - Schedule classes

Add an activity to the week calendar by picking a slot. You can add a location and instructor and add a comment if needed. You can make the class recurring, for example once a week during 10 weeks. If you have regular group class clients, you can even copy them along.

step 3

3 - Share roster with your clients

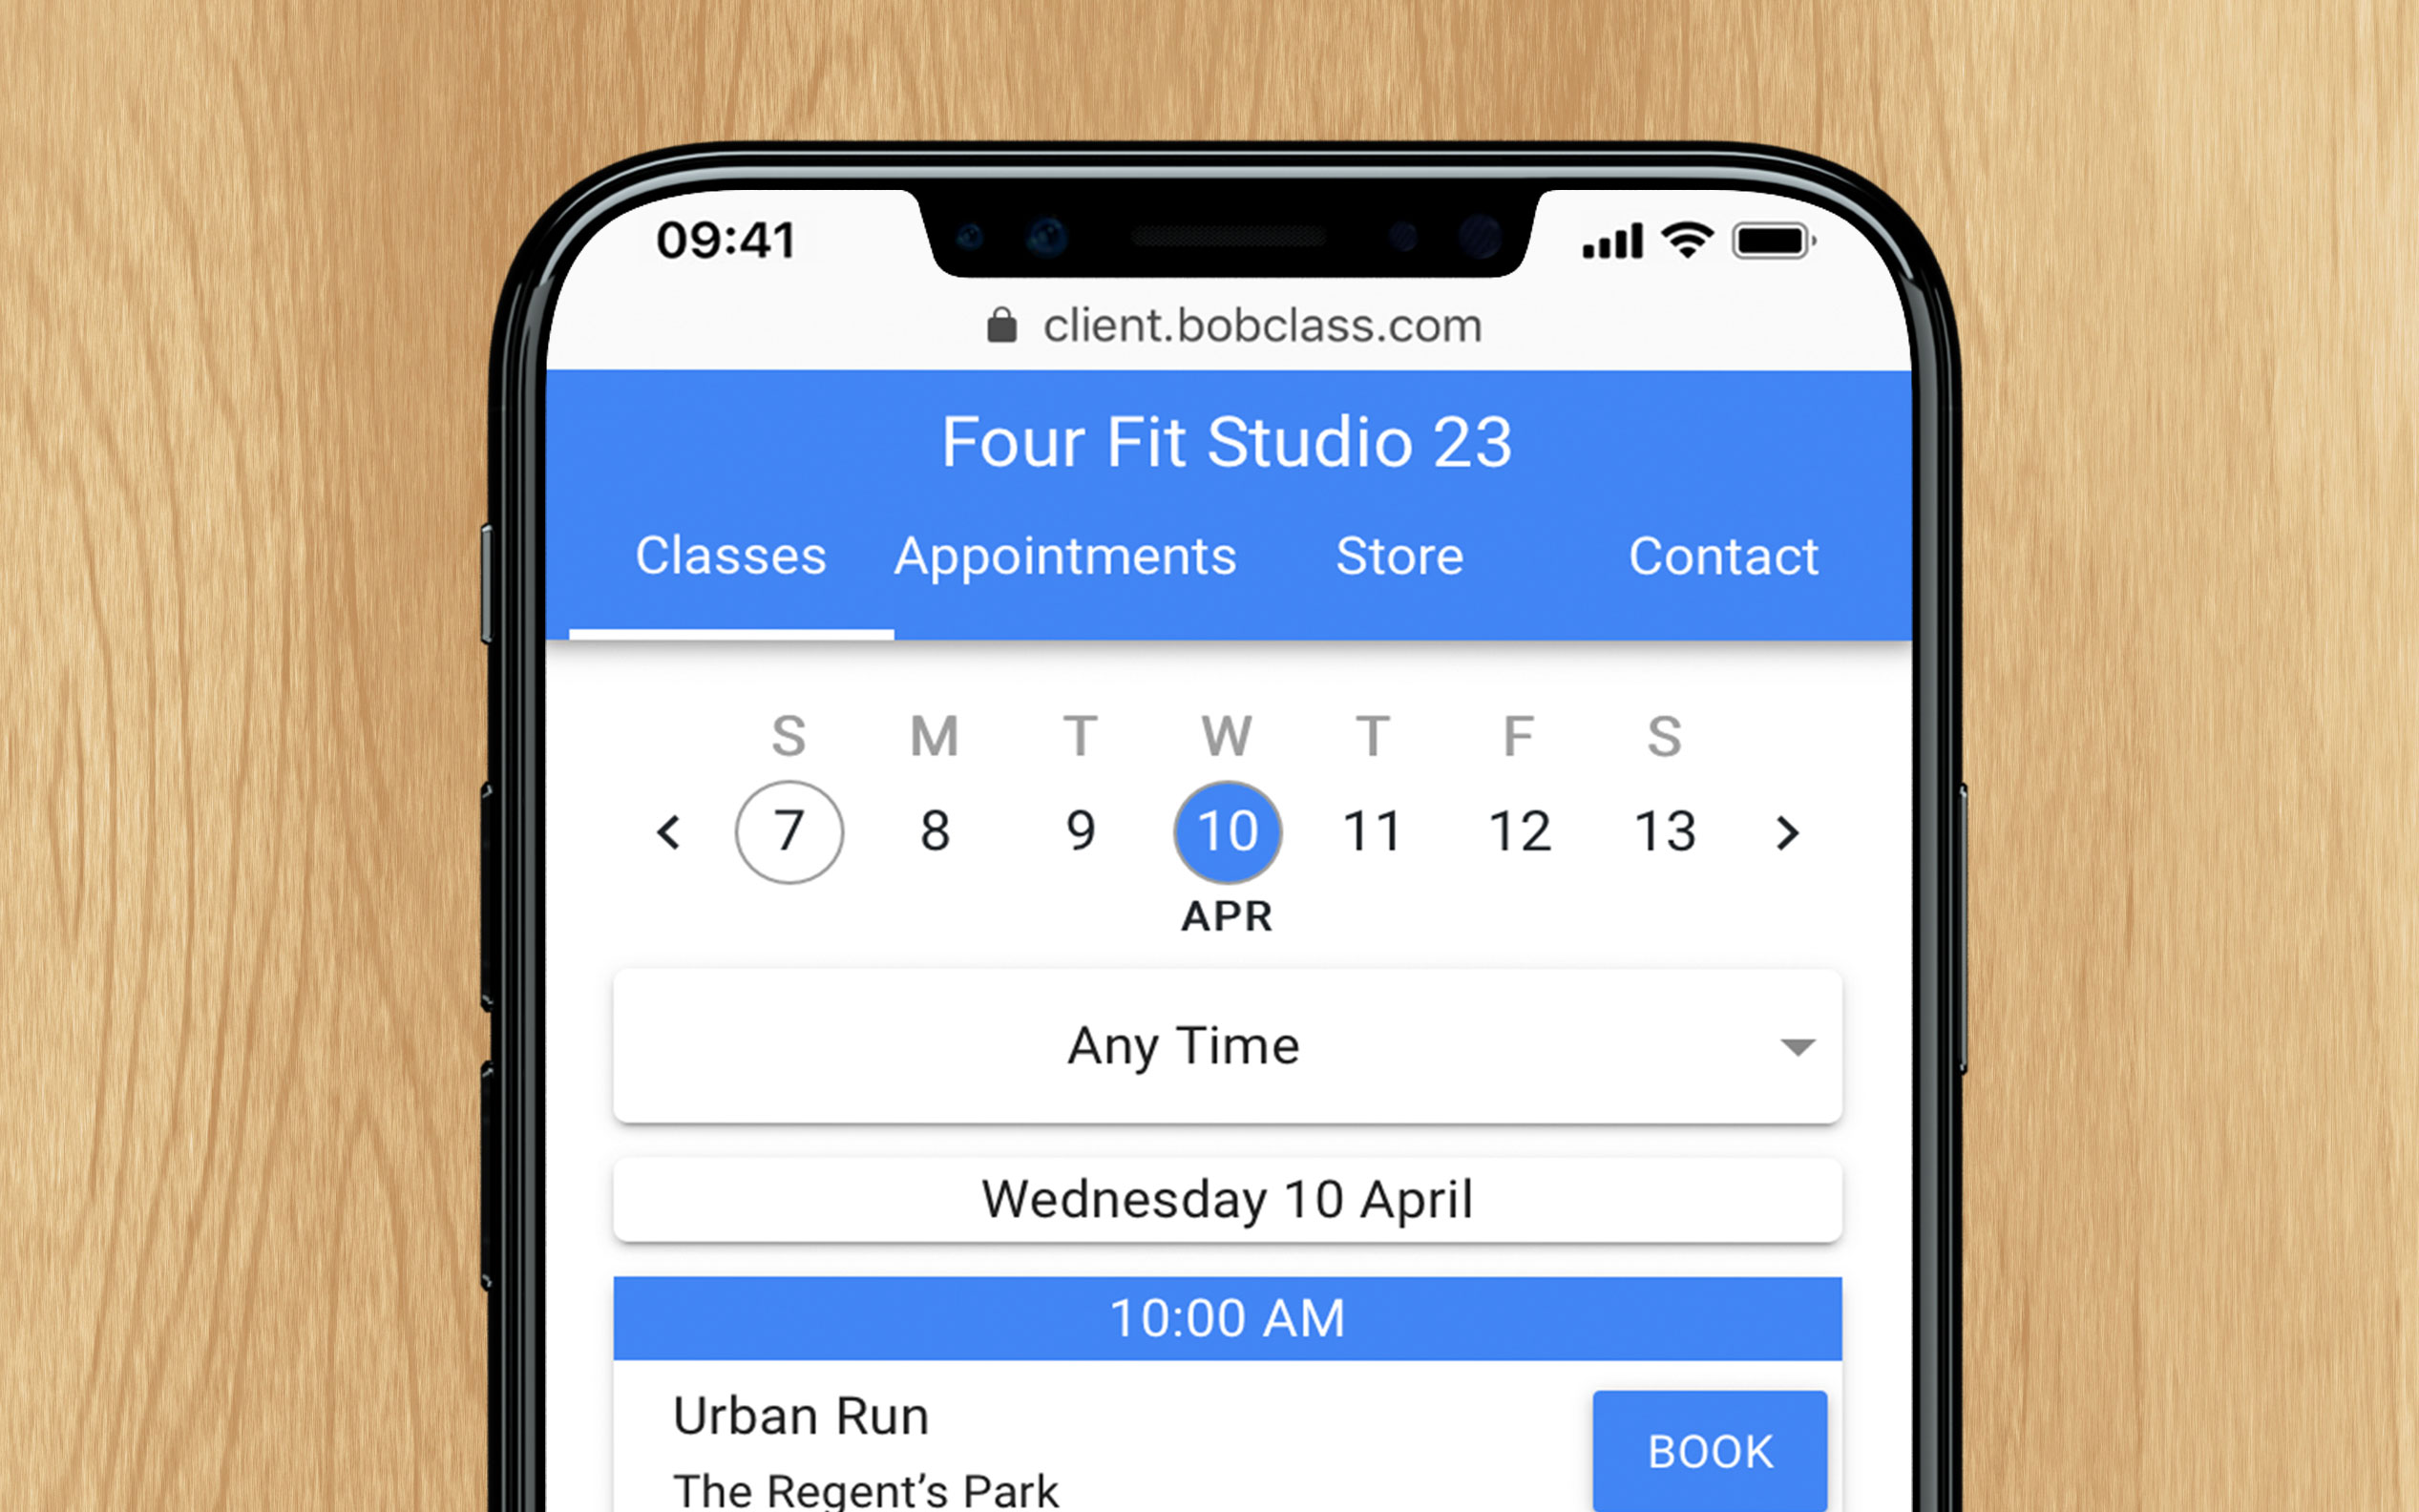
Now that you have carefully prepared your class calendar for the season, it is time to share it with your clients via your own web link. Simply share this with your clients and they can view your class roster on any device in a web browser.
step 4

4 - Clients reserve a spot

Existing and new clients can view the upcoming classes without having to log in. They simply click the Book button to request a spot for a class.

step 5

5 - Confirm booking

You will instantly receive a message and confirm the booking in the app, which will send out a confirmation message (email or text) to the client. Since Bobclass runs fully mobile, you will be able to accept and confirm bookings from anywhere.

Download for free

Download for iOS/Mac

Do you still have questions?

Questions? Make sure to explore the features section which contains instructions and videos, and the FAQs. Or talk to us through the chat widget in the bottom-right corner, 09:00 - midnight CET. We speak English, Español, Nederlands and Deutsch. Note that we're a small team so be patient if we're not online 24/7. We'll get back to you if you leave your name and question.

You can also send an email using the button below.

Send email